Pet portrait painting is an art form with a long and varied history. From ancient cave paintings to modern digital art, pet portraits have always been popular. Creating a successful, detailed pet portrait requires skill and dedication. In this article, we’ll explore the basics of pet portrait painting and then move on to more advanced techniques.
Pet portraits can be painted in any medium - from oils and acrylics to watercolor, ink, and pastels. They can also be done digitally with software like Photoshop or Procreate. Each medium has its own pros and cons, so it’s important to know which one you’re most comfortable with before you start your project.
No matter which medium you choose, the best way to create a beautiful pet portrait is by learning the proper techniques. In this article, we’ll look at different approaches for painting realistic pet portraits - from basic techniques all the way up to advanced ones that will impress even experienced painters!
What is Pet Portrait Painting?
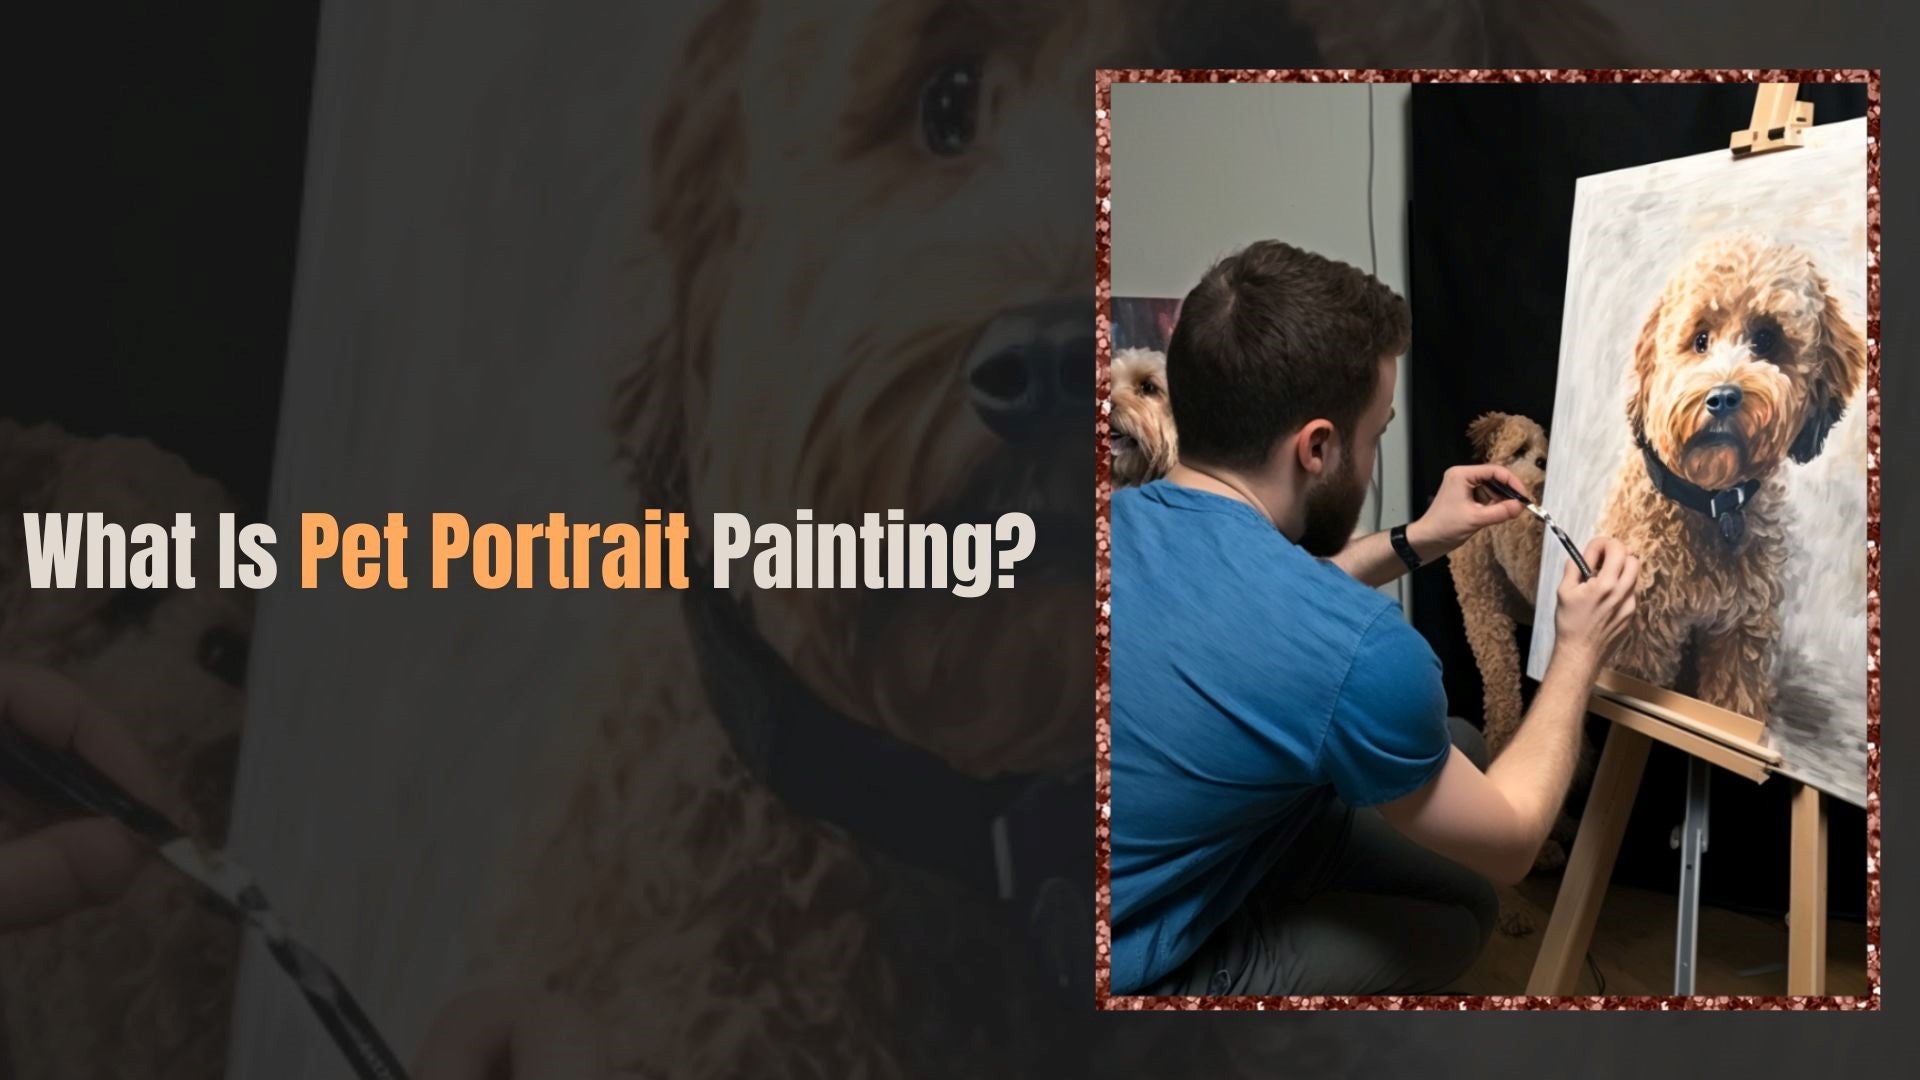
What is pet portrait painting? Pet portrait painting is a type of art that uses various techniques to create a realistic image of an animal. It’s a great way to capture the beauty and personality of your beloved pet. Portrait painting techniques can vary depending on the type of pet, the skill level of the painter, and other factors, such as the artist’s preferences. For example, some artists may use oil paints or watercolors while others may prefer pastels or colored pencils. Regardless of the technique used, it’s important to have an understanding of the fundamentals of animal anatomy and facial expressions in order to accurately depict your pet’s features. With practice and patience, anyone can learn how to paint pet portraits with beautiful results. As you become more experienced in portrait painting techniques, you can explore more advanced methods such as detailed fur texture and shading. With each new piece, you will gain confidence in your ability to create stunning works of art that capture your pet’s true spirit. The next step is learning about the tools and supplies needed for creating these masterpieces.
Tools and Supplies Needed
Creating a pet portrait painting requires an artist to gather the right supplies. Acrylic paint is easy to work with, dries quickly, and can be used on various surfaces. You’ll need paint brushes of various sizes and shapes for laying down and blending paint. Canvas board or canvas paper are ideal surfaces for painting pet portraits. Canvas boards are more durable and require an easel stand for support, so make your decision based on whether you have or would like to purchase an easel.
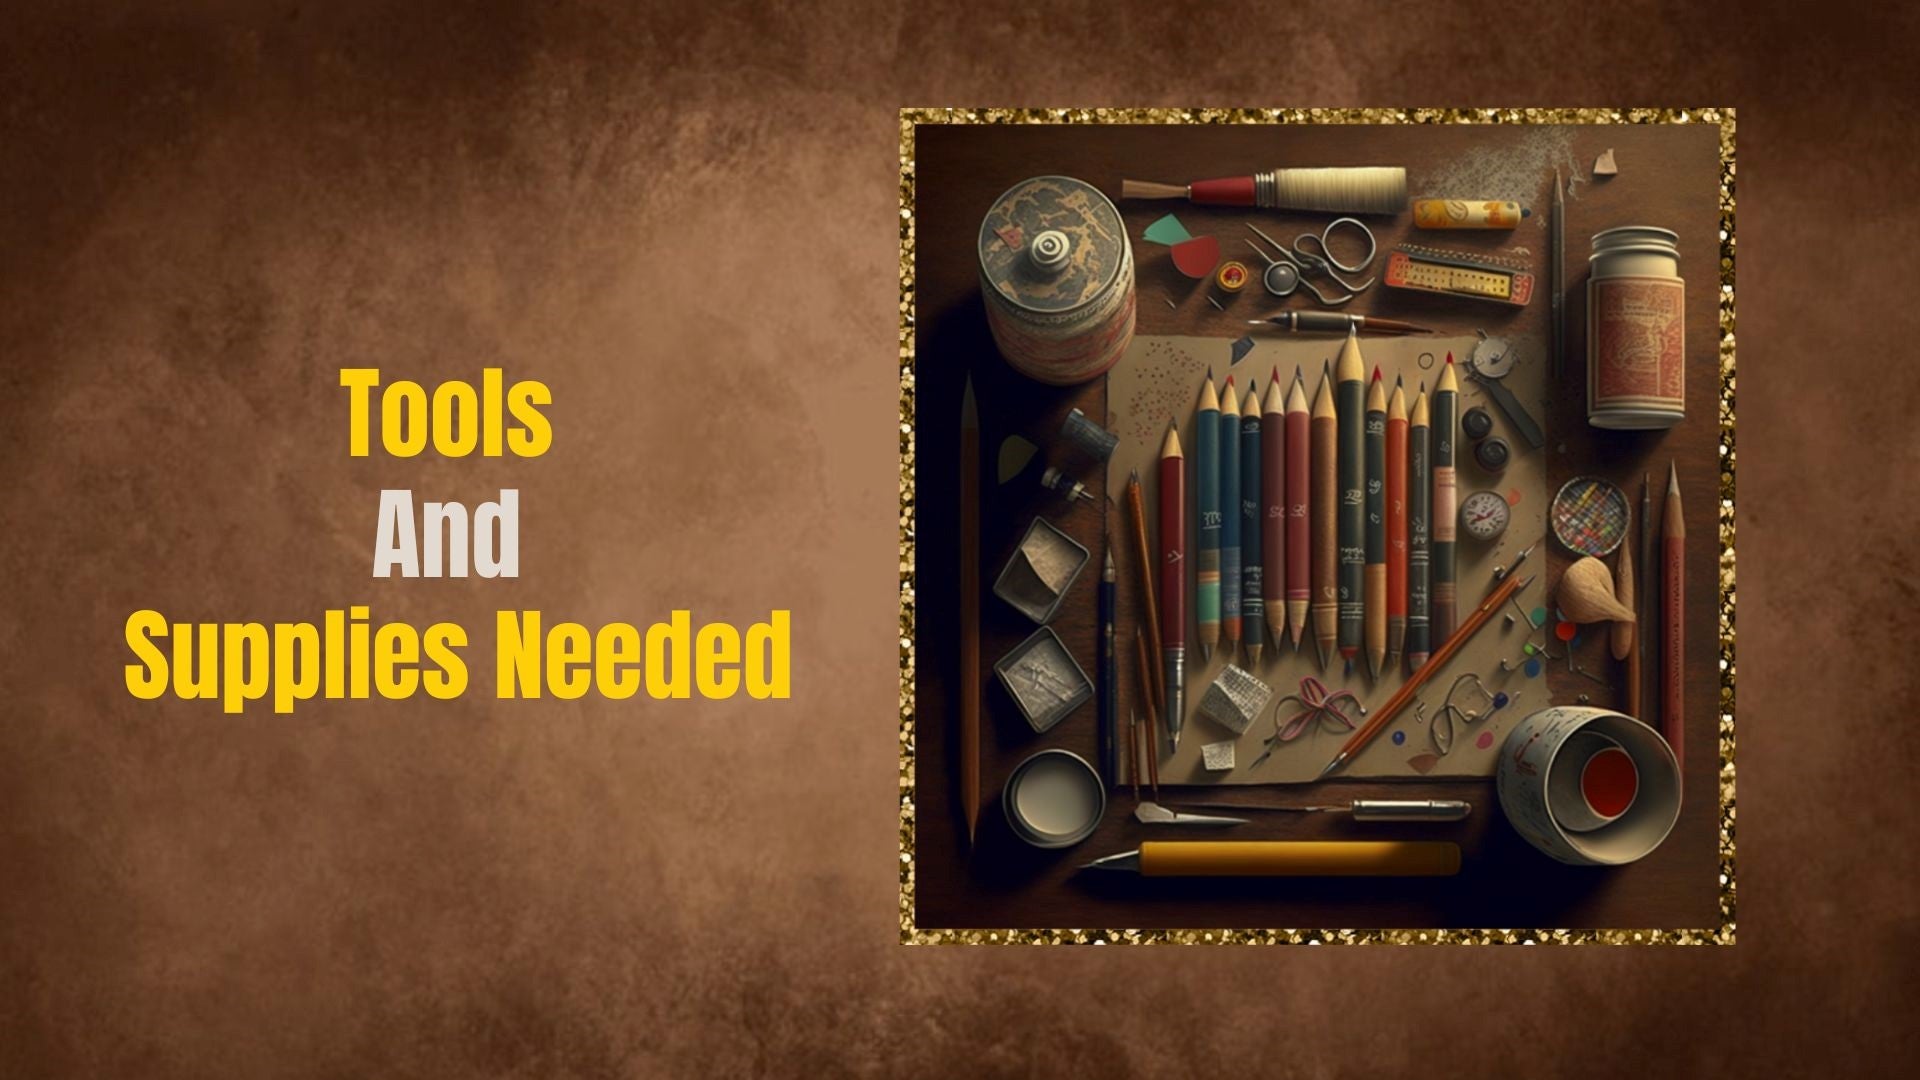
Once you have these basic supplies, you can consider using additional materials such as solvents, glazing mediums, varnishes, and palette knives. These items create a richer texture that enhance the details of the painting. However, they are not essential in creating a successful pet portrait painting, so use your discretion.
With the right tools and supplies ready at hand, you can begin your journey of creating beautiful pet portraits that capture your beloved animal companions in all their glory! Next, you will need photo reference materials to use as inspiration or to trace onto the canvas.
Photo Reference Materials
Photo reference materials are essential in achieving an accurate representation of the animal. Photos are an excellent resource for deciding on a color palette and for studying details that would be difficult for the artist to remember or recreate otherwise. There are various types of photo references available, including pet and animal photos, as well as images of other animals or related objects.
Consider the following when searching for reference materials:
- Pet Photo Reference:
- Look for clear, detailed photos of your subject.
- Consider taking your own photos if possible.
- Research library and online resources for similar pet/animal photos.
- Animal Photo Reference:
- If a specific breed is desired, research breed-specific photos.
- Look for images with good lighting and angles that best represent the breed.
- Image Reference:
- Find images of other animals or objects with similar shading or textures that can be used as reference when creating details in your painting.
- Compare the size, shape and color of similar elements from different sources to create a unique composition.
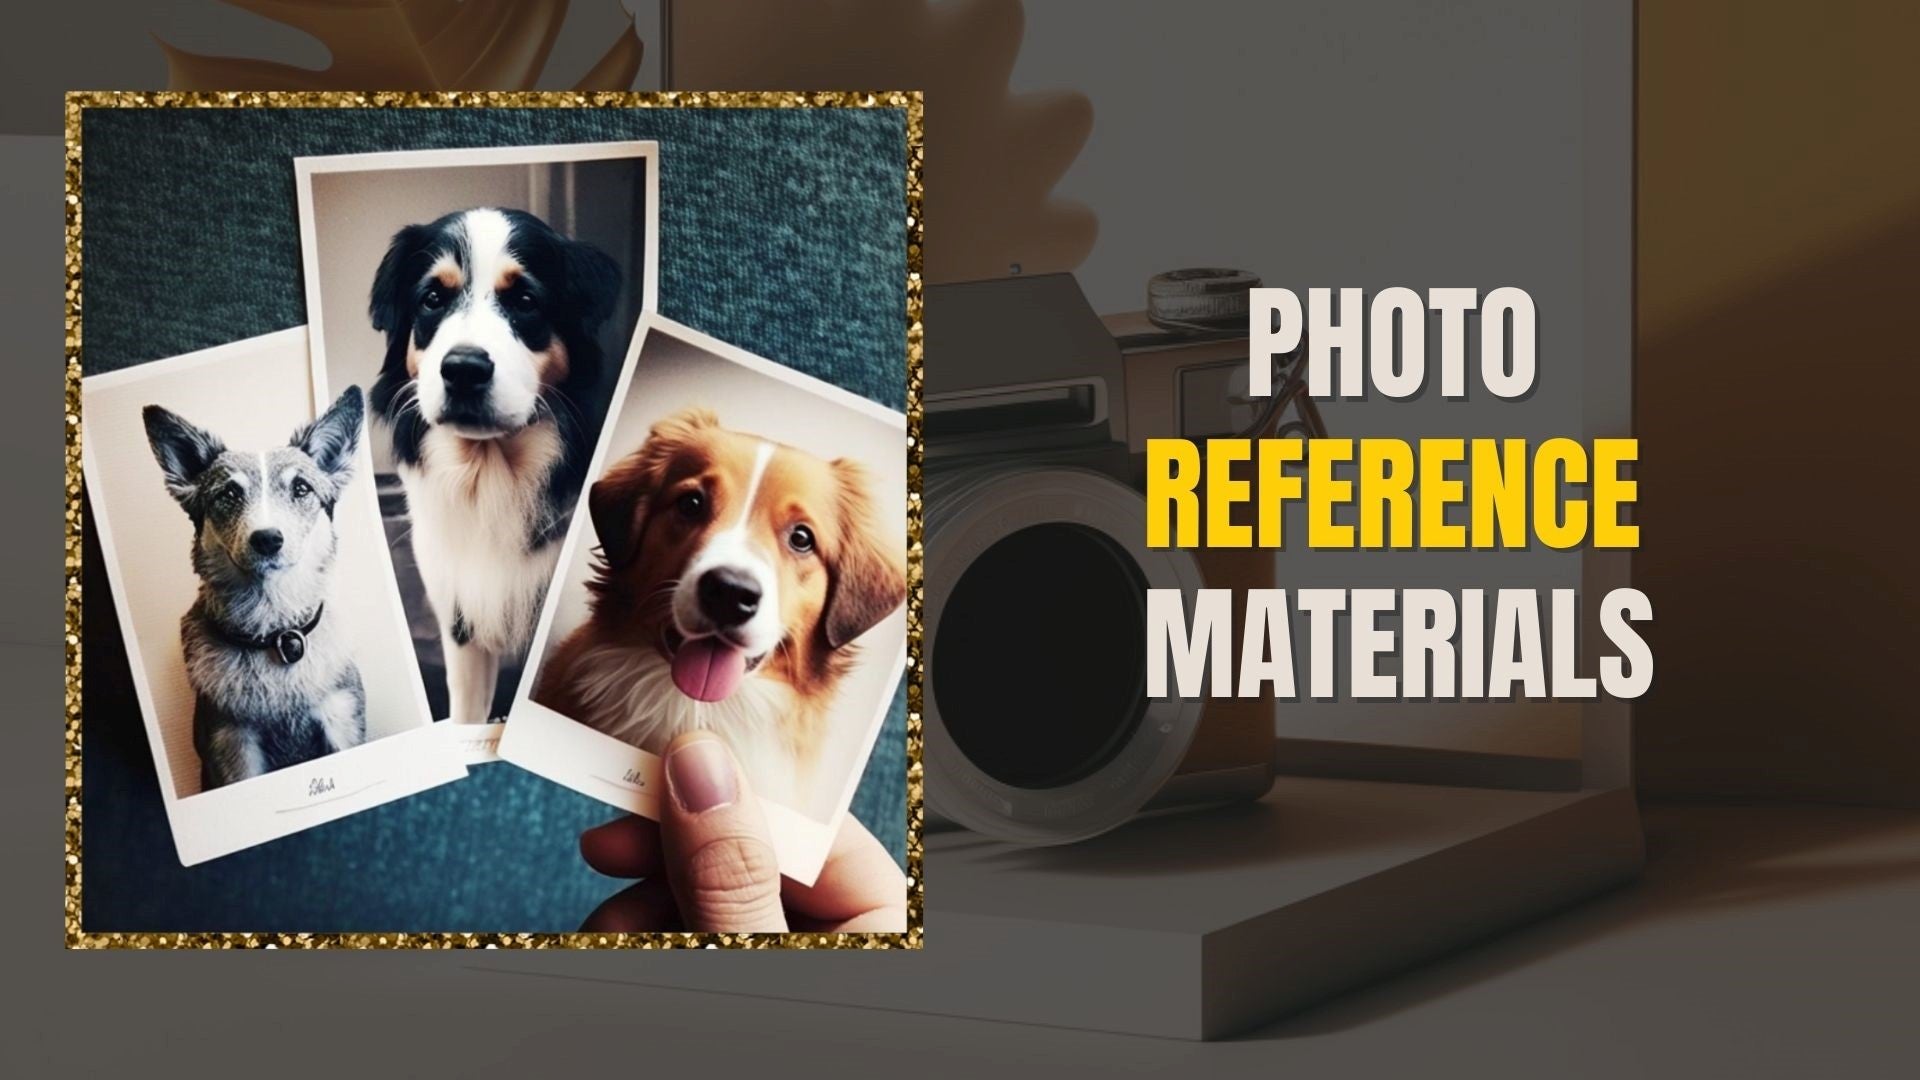
Having these resources on hand will ensure you have all the details needed to accurately represent your subject matter in your artwork. Additionally, having access to multiple sources allows you to explore different compositions and ideas without having to redraw them each time from scratch. With this foundation established, we can move ahead with sketching out our outline for our portrait painting!
Sketching the Outline
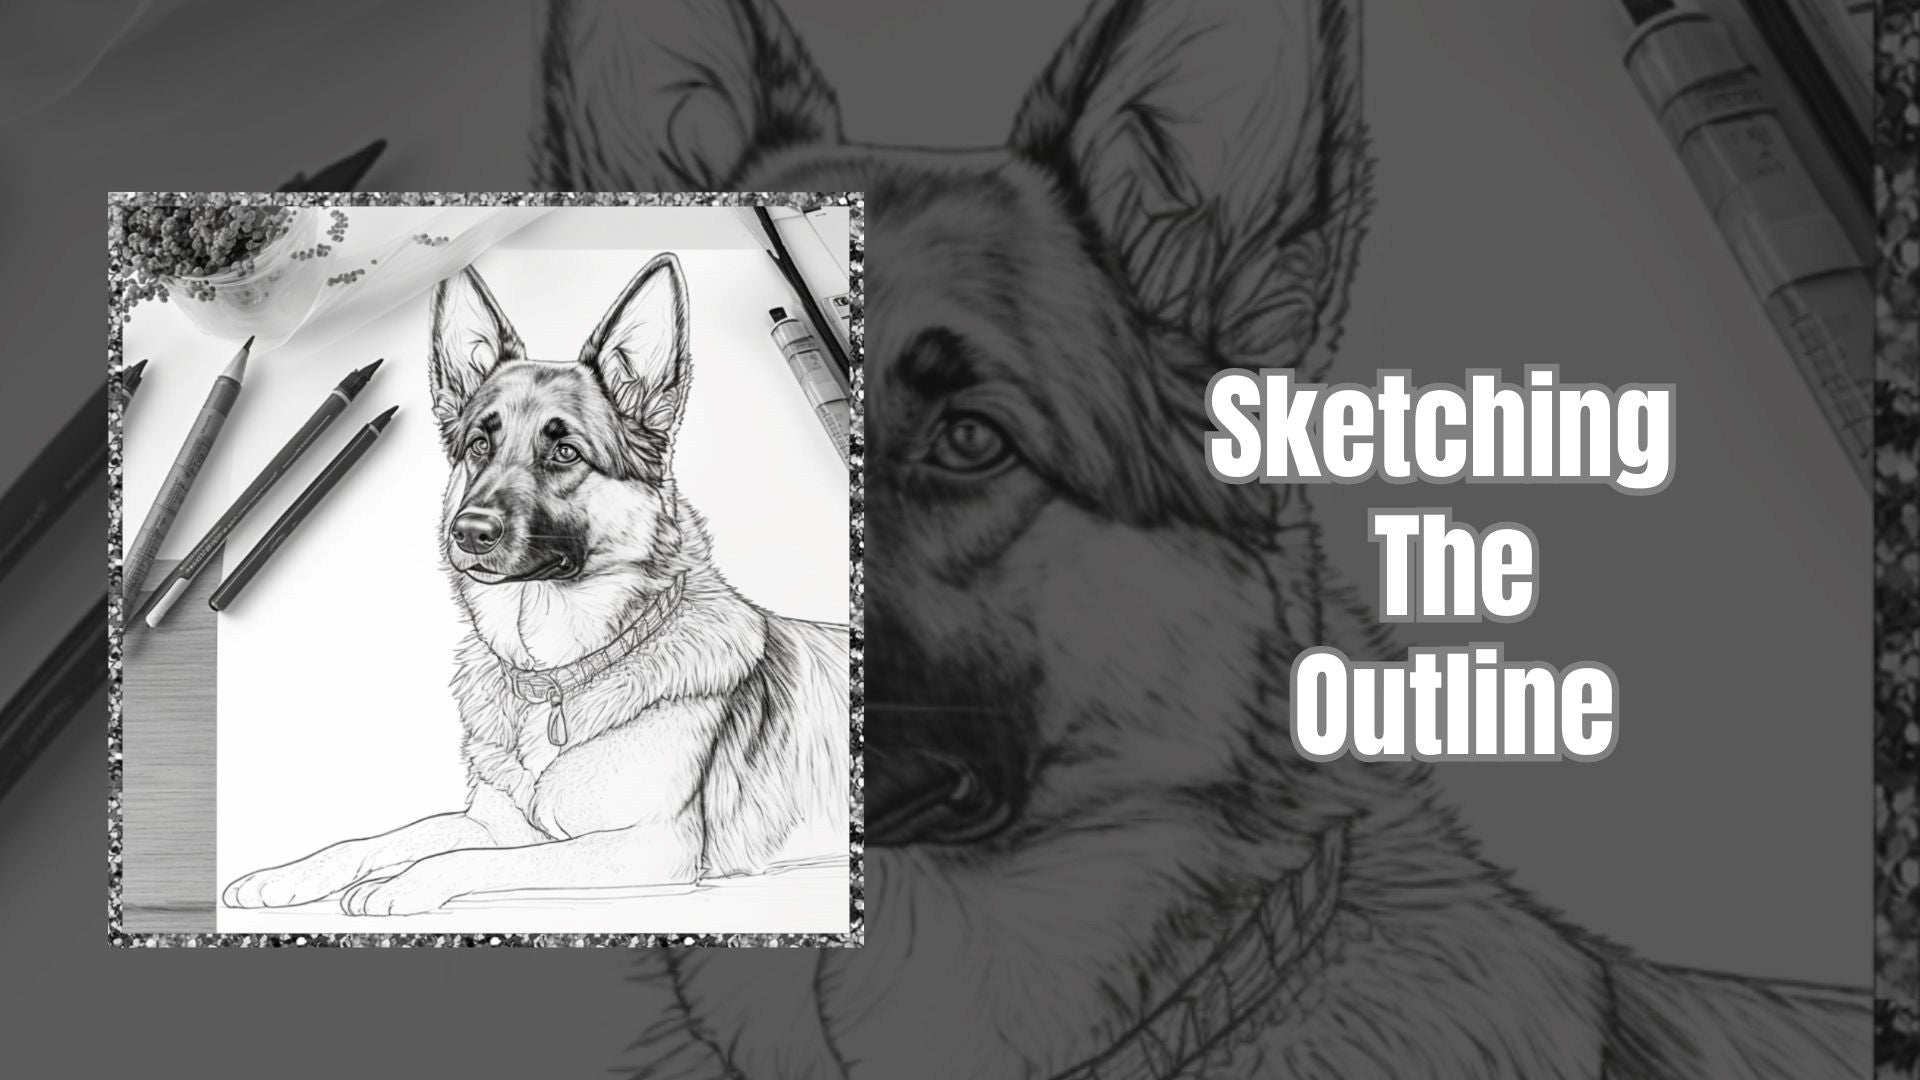
Sketches serve as an initial plan for your painting and are essential for creating a successful piece of art. There are several techniques to sketching the outline of a pet portrait.
First, consider the size of your paper or canvas and how much detail you want to incorporate into your painting. Then, determine the lines and shapes you’ll use to form the outline of your pet portrait. Start by drawing basic geometric shapes like circles or ovals and then add details like eyes, ears, and fur later on. You can use charcoal pencils or graphite sticks to create more detailed outlines with shading.
Try experimenting with different types of lines such as curved, jagged, or straight when sketching out the structure of your pet portrait. This will help give your painting more life and dimension while also allowing you to be creative with its design. With these tips in mind, you’ll be on your way towards making a beautiful pet portrait!
Now that you have your outline sketched out, it’s time to move onto choosing colors and shading for your artwork.
Choosing Colors and Shading
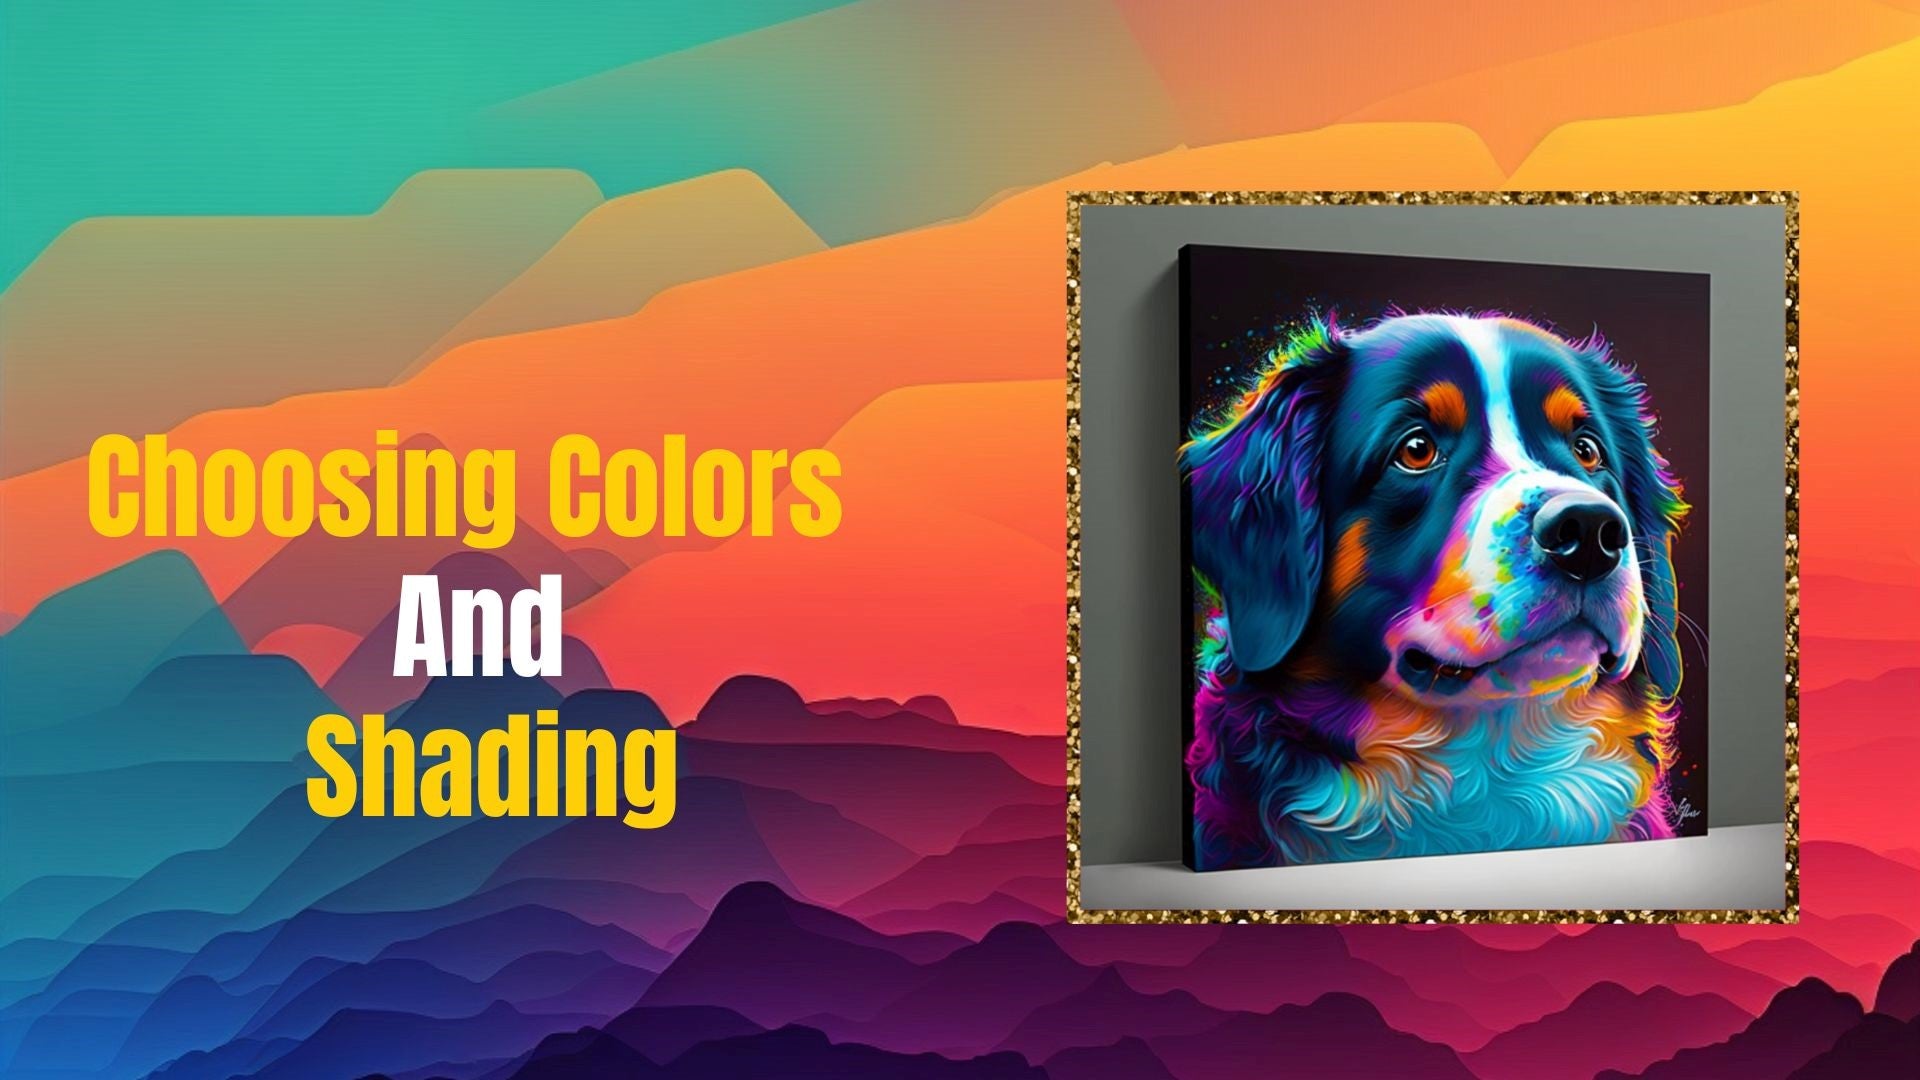
Choosing the right colors and shading techniques for your pet portrait is essential for creating a realistic portrayal of your beloved pet. To start, determine what colors you would like to use for your painting. When painting dogs, it’s important to pay attention to the different shades of browns, tans, and whites found in their fur coats. For cats, consider using a variety of grays and blacks that will bring out their unique features. Once you have chosen the colors, it’s time to begin working on the shading techniques. Create a 3D effect with a combination of light and dark tones. Use different brush strokes to mimic the texture of your pet’s fur or skin. If you’re feeling overwhelmed by this process, consider looking up some tutorials online that can help guide you in mastering these techniques. With practice and patience, your pet artwork will be brought to life with stunning shading and colors. Next, you can use texture to add dimension to your pet’s portrait.
Adding Textures to the Painting
Once you’ve chosen colors and worked in shading, it’s time to add texture to your pet portrait. Textures can give a painting depth and realism, making it look more lifelike. There are several techniques for creating pet texture painting, from realistic fur textures to canvas texture painting.
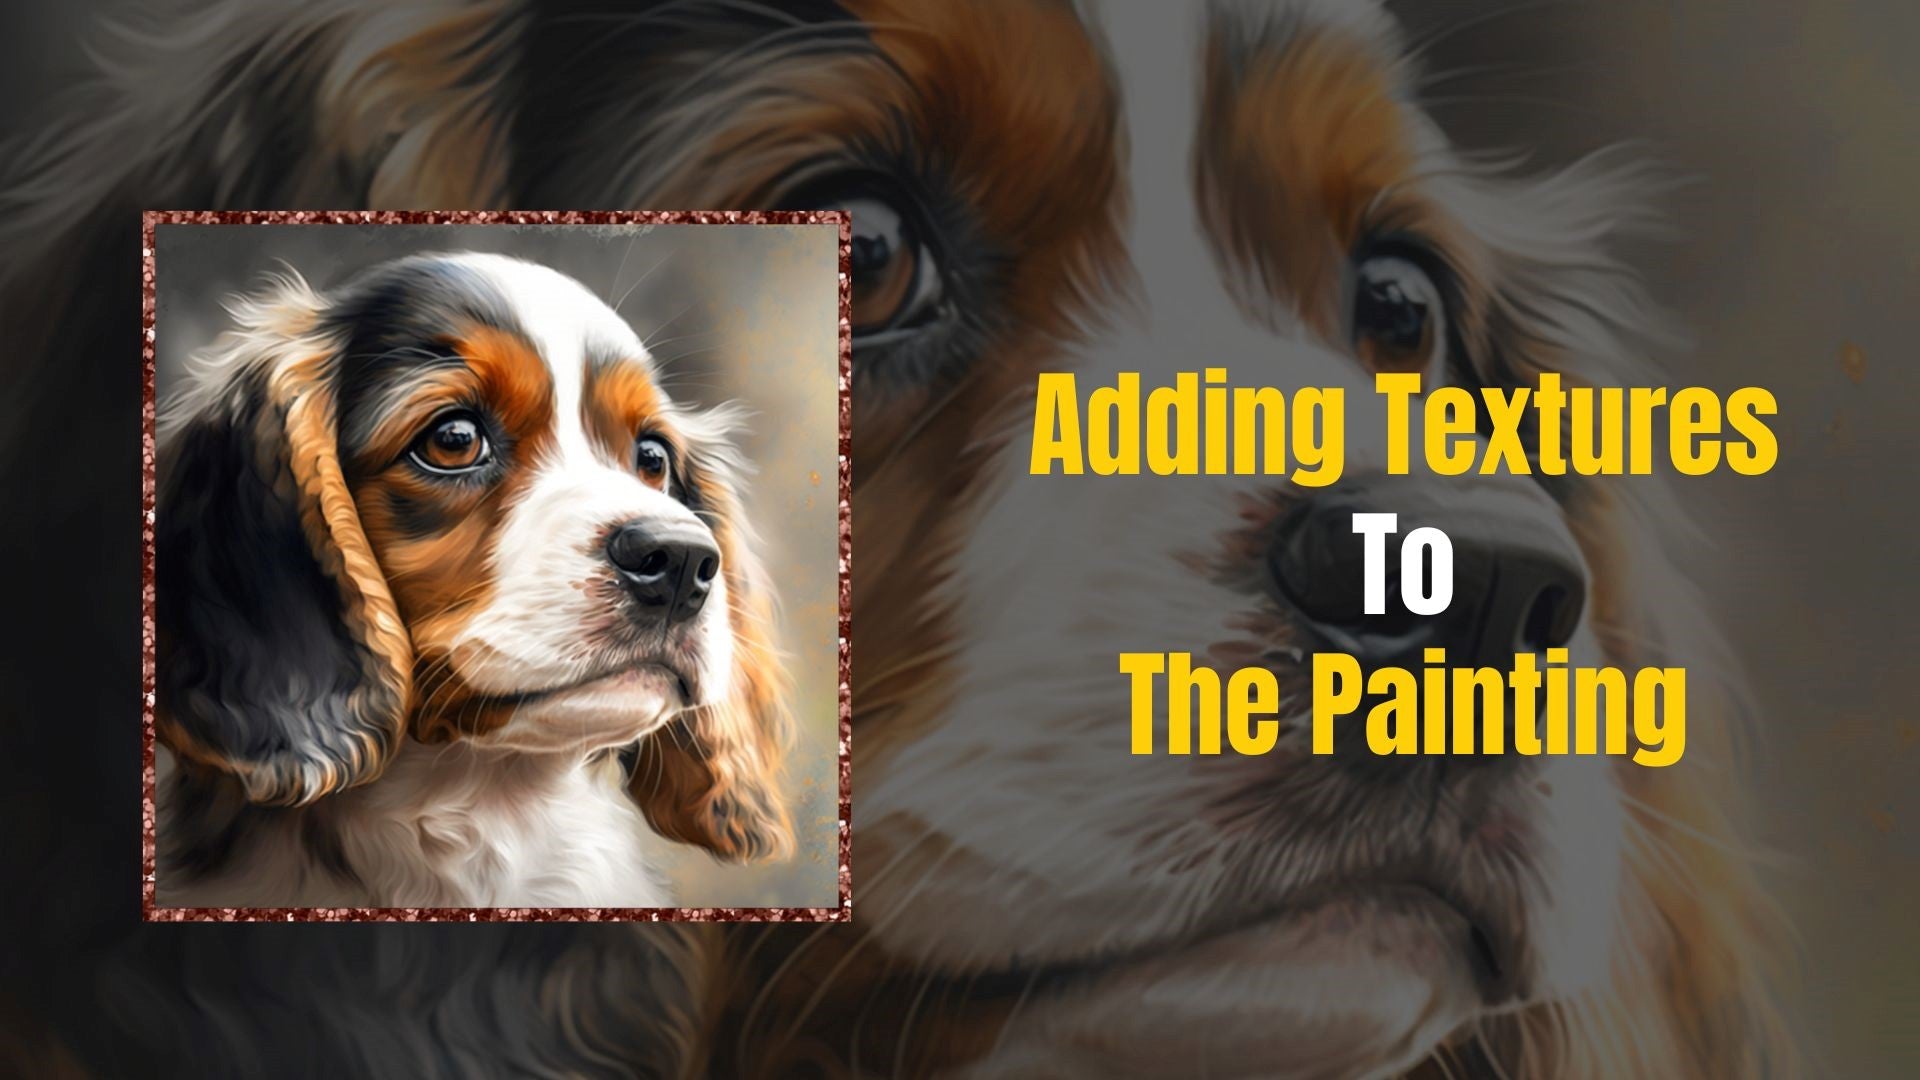
For pet fur texture, use a very small brush to paint in individual hairs that will create a silky effect. Start by outlining the shape of the fur with light strokes of the brush, then gradually build up a thicker coat by adding darker layers of paint and more individual hairs. Experiment with depth of colors and shades to make different areas stand out.
Canvas texture painting is another popular technique used in pet portraits. This is done by lightly brushing the canvas with color in order to create a soft background effect. You can also use highlights and shadows to add interest to otherwise plain surfaces. Be sure to blend colors well for realistic effects, and avoid overworking the painting. Too much detail can detract from your portrait’s overall look.
Texture painting techniques are an important part of creating life-like pet portraits. With practice, you can master these techniques and bring your artwork to life. As you experiment with these methods, keep in mind that each portrait is unique so don’t be afraid to try something new!
Blending Colors for Realistic Effects
To enhance the realism of your pet’s portrait, it’s essential to understand the principles of color mixing, light effects, and color shading. Here are some steps you can take to better understand how to blend colors for a realistic effect:
- Start with basic color mixing. Understand how different hues and tones work together to create new colors.
- Focus on light effects by using light, medium, and dark tonal values in your painting.
- Experiment using various brush strokes and other tools to evenly transitioning between colors.
- Practice texture blending by combining both wet and dry media together on the painting's surface.
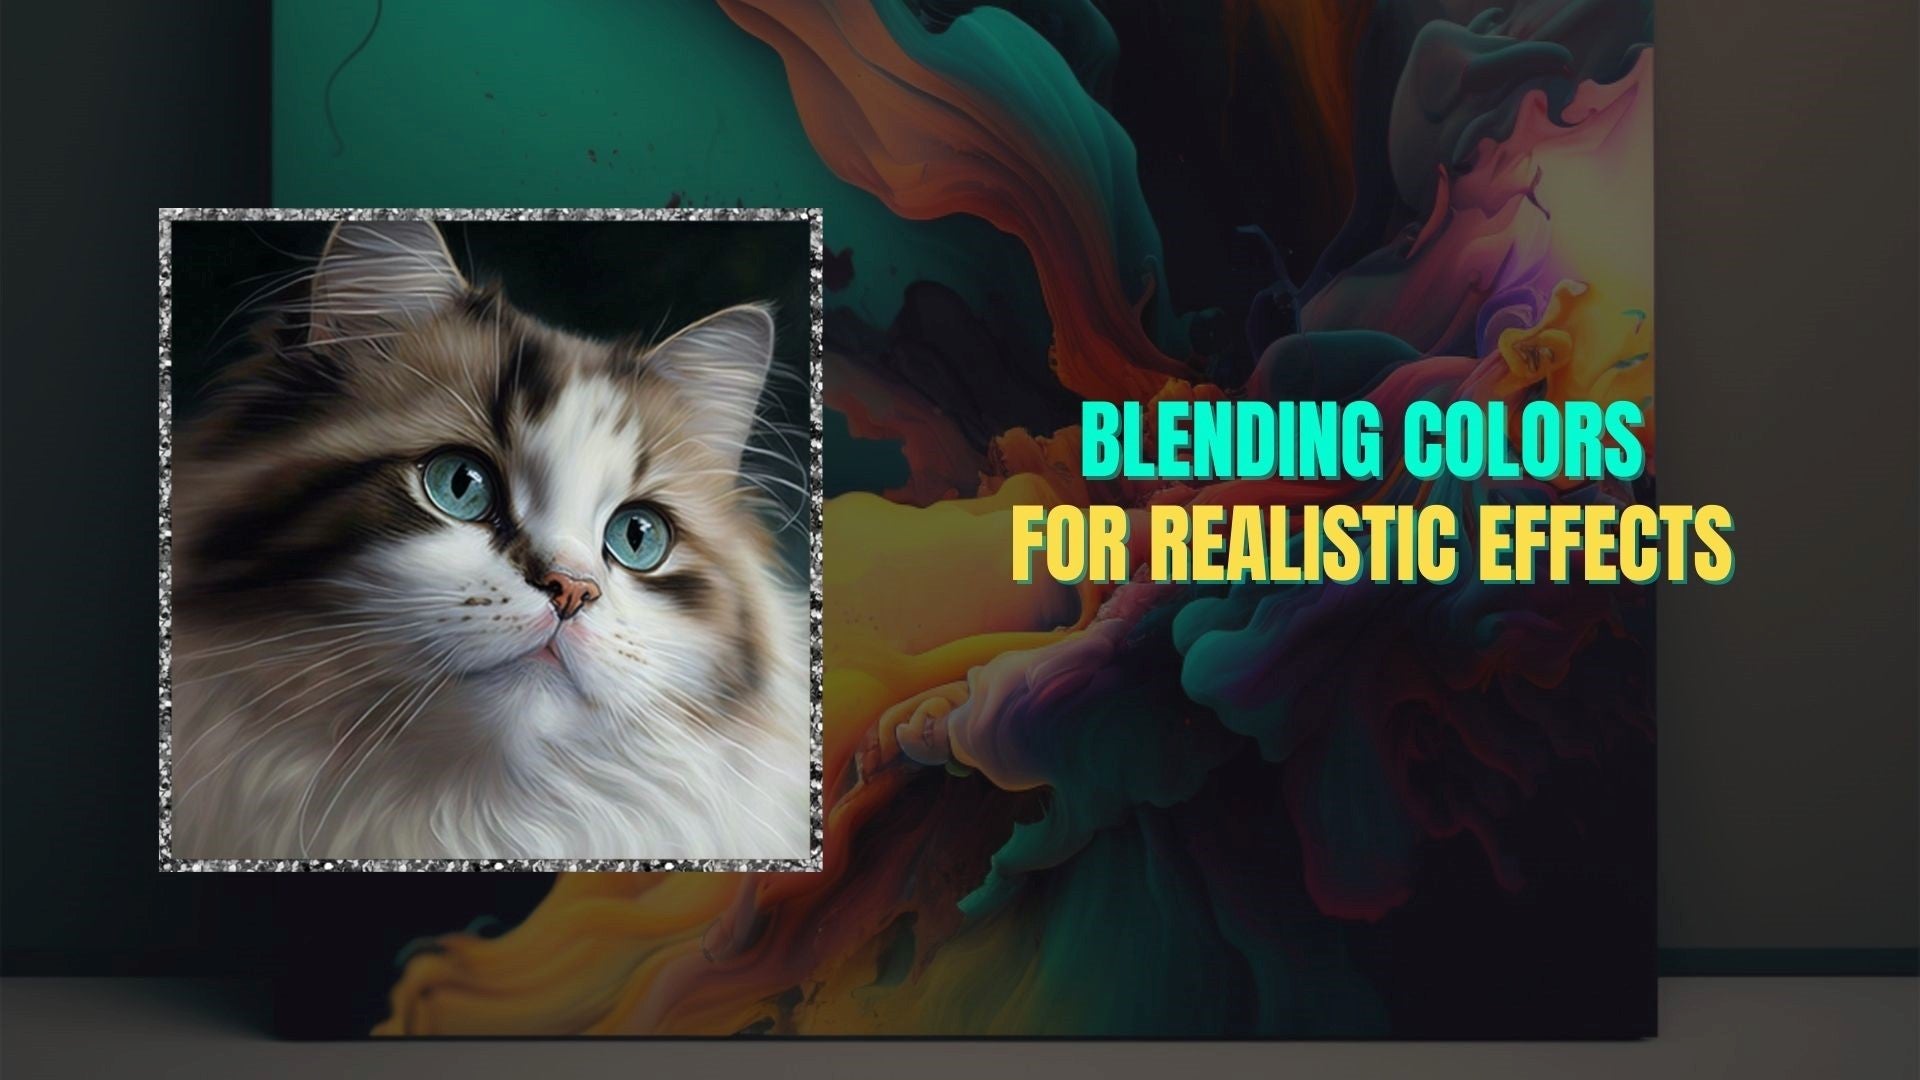
By mastering these techniques, you’ll be well on your way to creating artistic masterpieces in no time! With this knowledge under your belt, you’ll have a strong foundation as you move onto digital pet portrait techniques.
Digital Pet Portrait Techniques
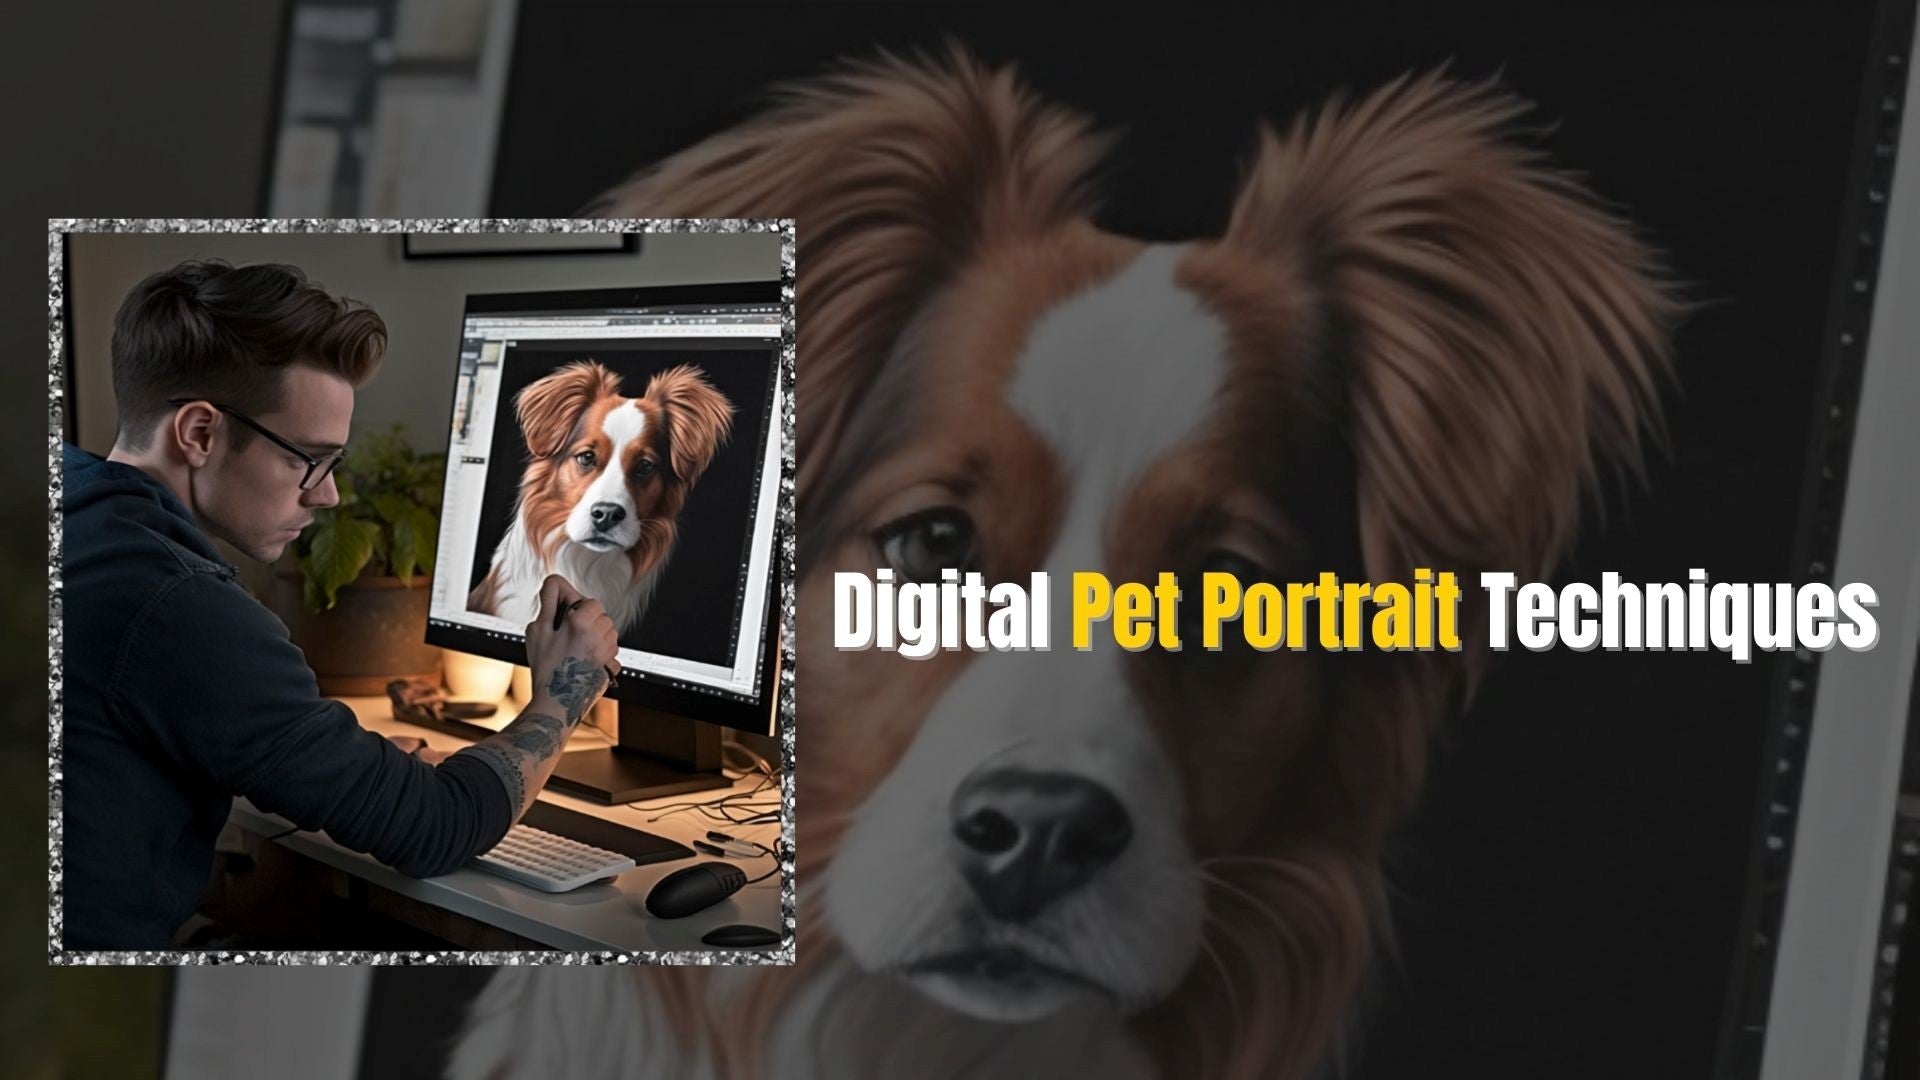
It may be true that digital pet portrait painting techniques are easier than traditional methods, but the level of skill and artistry required is just as high. To achieve a beautiful and realistic digital pet portrait, you must understand the fundamentals of digital painting and have a good knowledge of digital tools.
When creating a digital pet portrait, think through your color choices carefully. Digital paint pigments can look much different than what you would see in an actual painting. Therefore, you should take into account the light source and shadows when selecting colors for your pet portrait. Be aware of how each hue will interact with the other colors in your palette.
Once you have settled on your color palette, you can begin to explore digital painting techniques such as layer blending and brush strokes. Layer blending enables you to achieve smooth transitions in color while brush strokes can help define textures in fur or feathers. Practicing and experimenting with these methods will produce stunning results that make your pet portrait stand out from all the others!
In order to create a professional-looking pet portrait, there are a few tips you should consider. Take advantage of lighting effects, use layers to build up texture, and take time to define the details. These tips may seem daunting at first but with enough practice they will become second nature. Soon enough you will be on your way to creating captivating digital pet art!
Tips for a Professional Look
Creating a professional-looking pet portrait can be a challenging task, but there are some tips that can help you achieve this goal. One of the most important things to consider is the level of detail that you want to include in your painting. If you are looking to create a realistic pet portrait, pay attention to the details of your pet’s features. Attention to the small details creates a more professional artwork. Another helpful tip is to use high-quality paints and materials when creating your painting. Higher quality paints provide more vibrant colors and have longer staying power so your painting won’t fade over time.
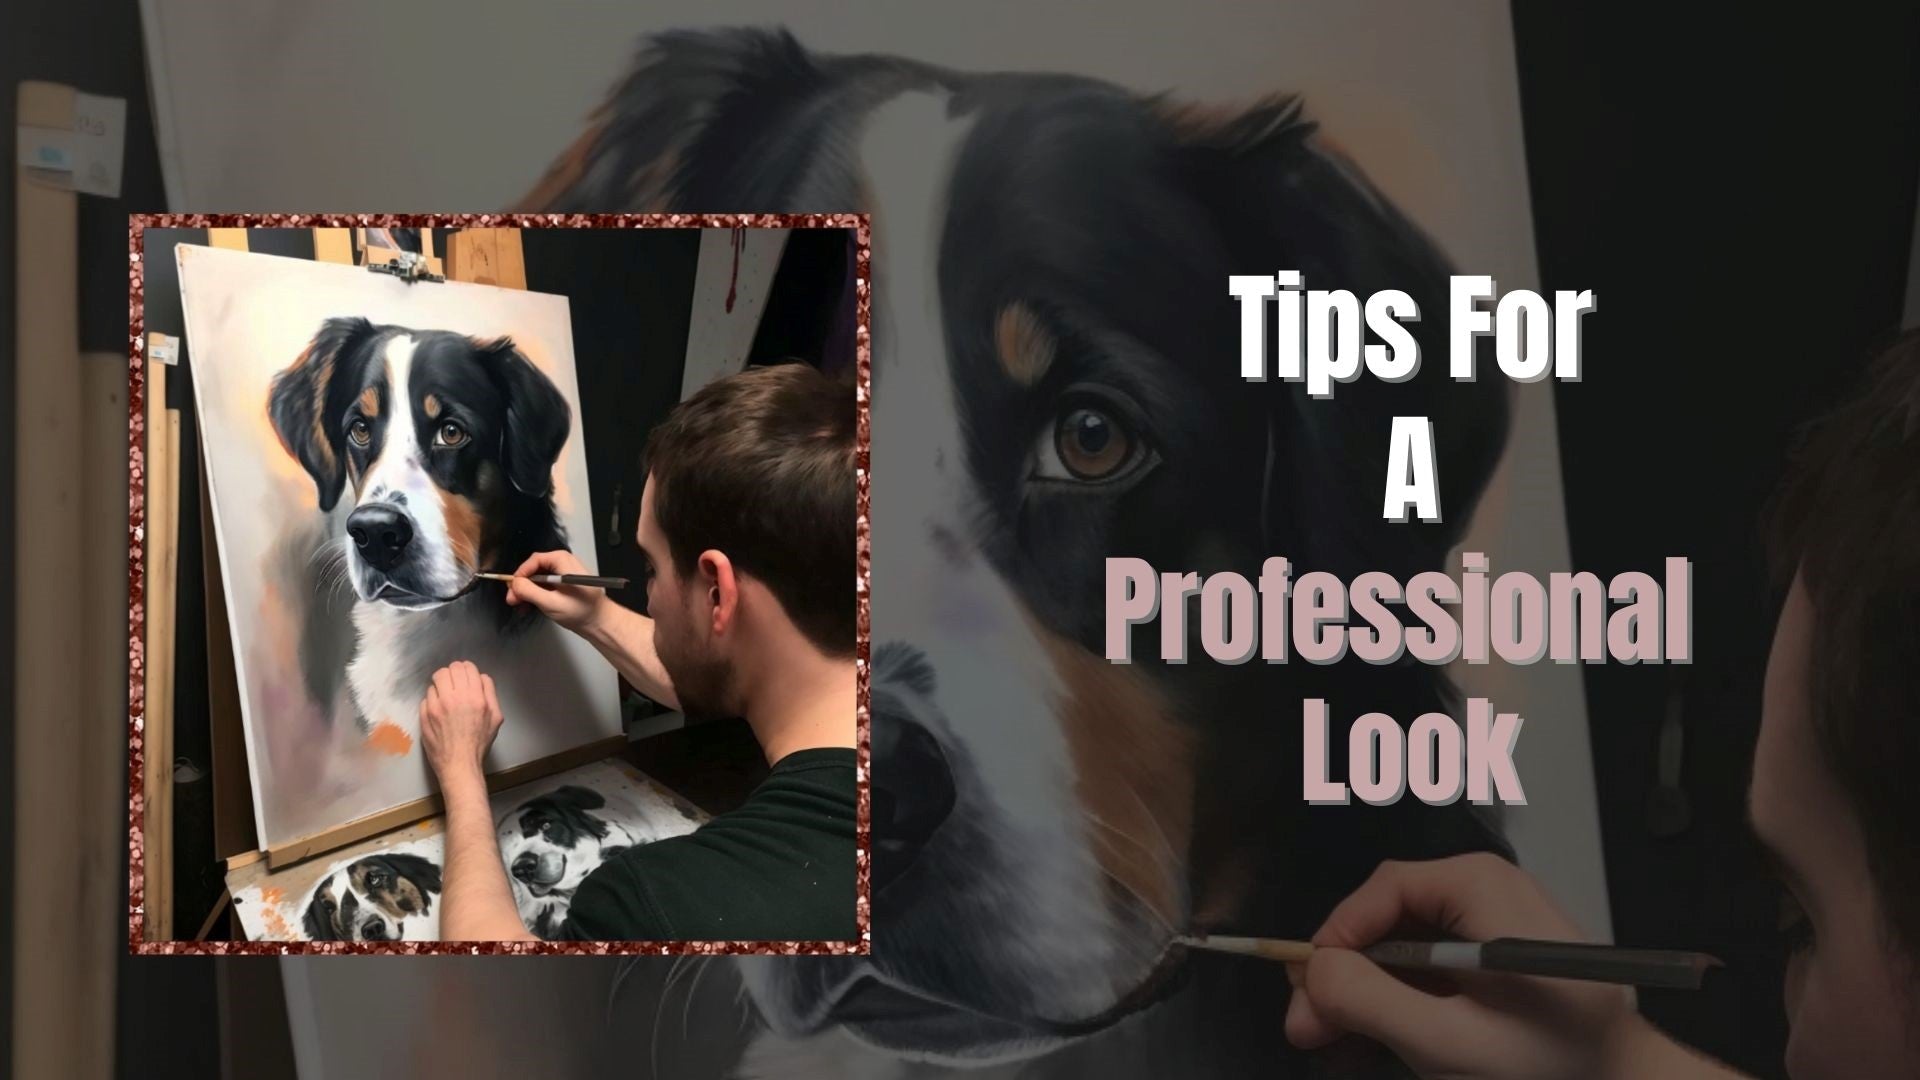
Another great way to make sure that your painting looks more professional is to practice techniques such as shading and blending colors together. These techniques give your artwork a more polished appearance. Taking classes or watching tutorials online can guide you through these techniques and give you advice for creating a beautiful and realistic pet portrait.
By using these tips, you should be well on your way towards creating a professional-looking pet portrait. With patience, practice, and dedication, you can create a long-lasting artwork that captures the unique beauty of your beloved pet!
Framing and Displaying Artwork
Once you’ve finished creating a pet portrait masterpiece, it’s time to frame and display it. Framing your artwork ensures that the painting will last for years to come and helps accentuate the beauty of your art piece. There are several options when it comes to framing and displaying your artwork:
- Ready-made Frames: Ready-made frames come pre-assembled with glass or plexiglass, matting, backing boards, and hardware. They’re easy to find and cost-effective.
- Custom Frames: If you want something more unique, a custom frame is a great way to go. You can choose from a variety of sizes, styles, and colors to match the look of your pet portrait.
- Hanging Systems: These provide an easy way to hang wall art without damaging walls or frames. They are often used in galleries and other public spaces where paintings may need to be switched out frequently.
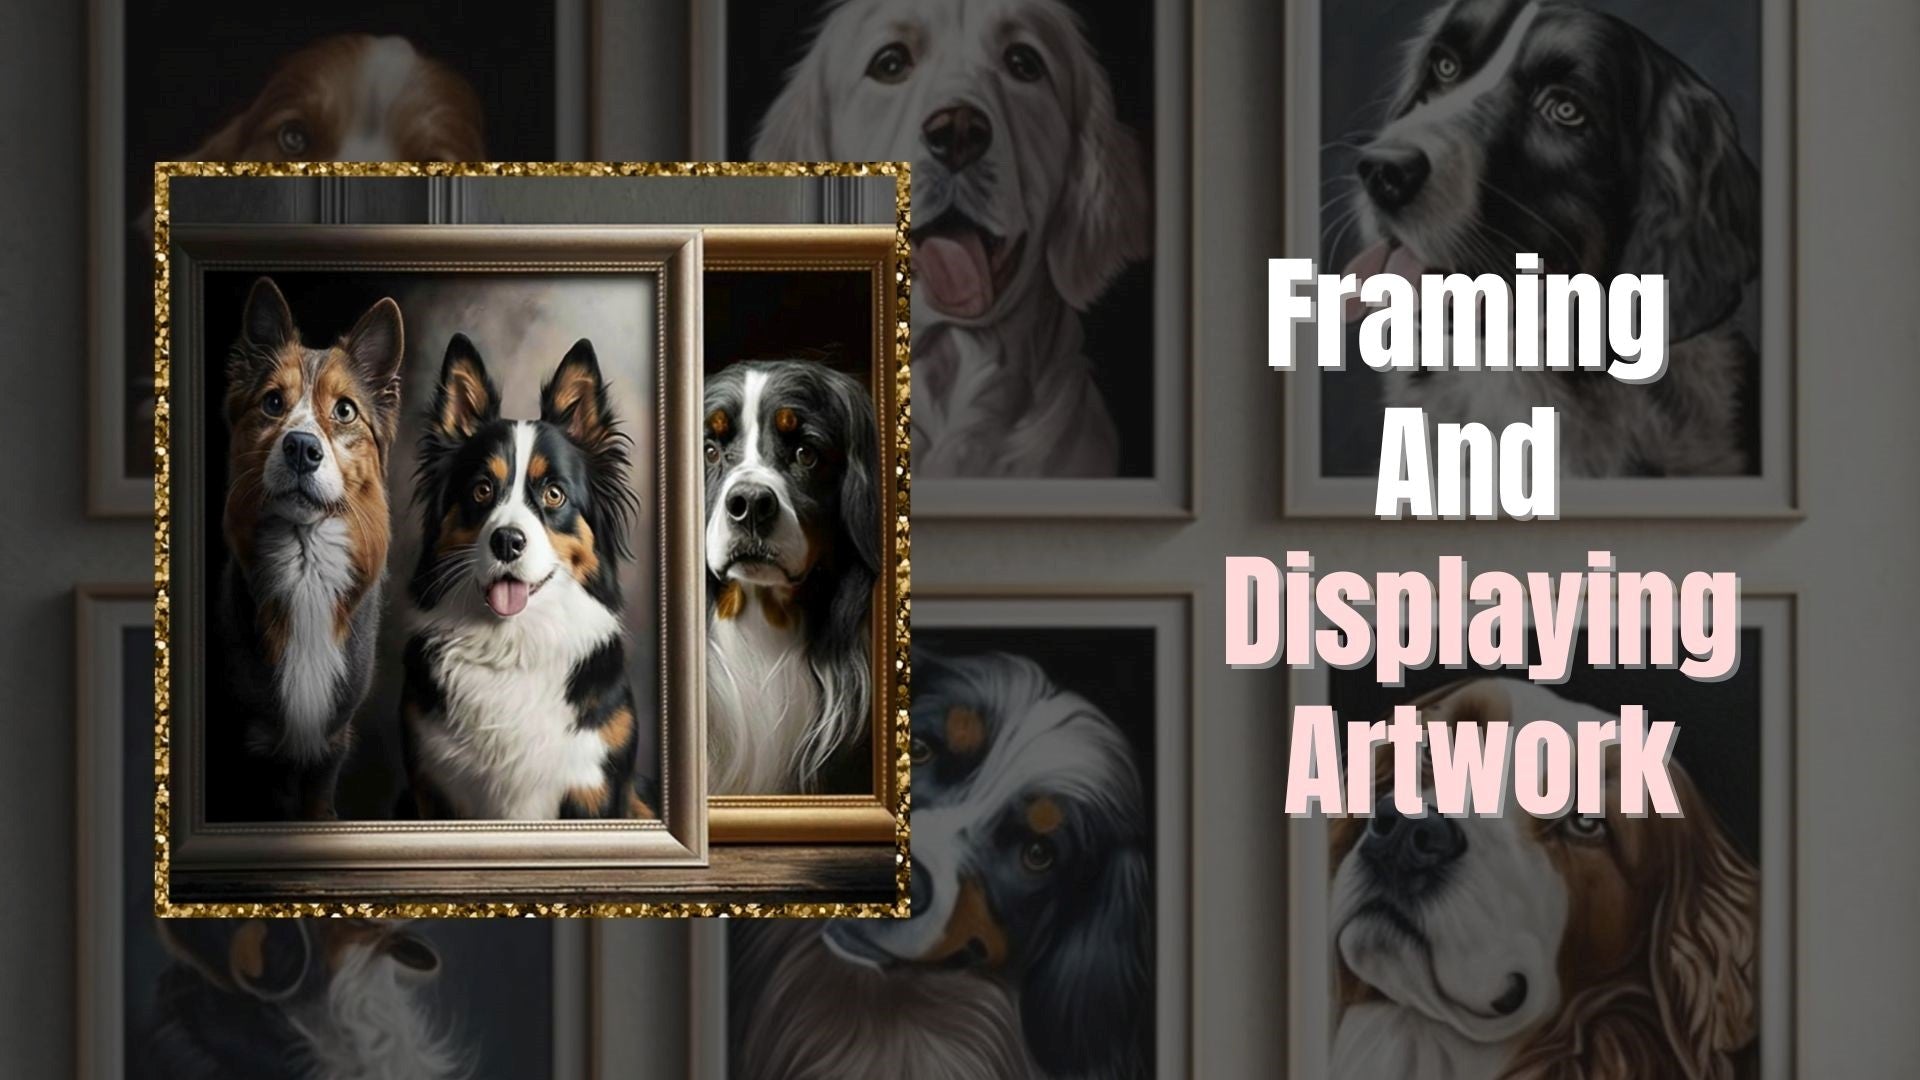
No matter which framing option you choose, make sure it complements the painting’s colors and composition as well as your home décor. When properly framed and displayed, pet portraits become beautiful pieces of art to be cherished for years to come!
Conclusion
At Paintshots, we provide a pet portrait painting service that takes you on a long and rewarding journey. The journey of pet portrait painting is filled with opportunities for personal expression and discovery, from the blank canvas to the finished product. After mastering the basics, you can use symbolism to bring a unique quality to your pet portrait. Come explore the possibilities with Paintshots and create a masterpiece that will capture the essence of your beloved pet.
Symbolism helps us to connect with our subjects on a deeper level. When we paint an animal’s portrait, their personality shines through in the colors we choose and how we represent them in our artwork. Every brush stroke reveals something unique about them, making each painting an intimate connection between artist and subject.
Creating pet portraits is a deeply rewarding experience that allows us to tap into our creativity while honoring these beloved animals. With our skill and creativity, we can pay tribute to those who have left pawprints on our hearts and keep our memories of them alive forever. For more information on how to create a stunning pet portrait from a photo, be sure to visit our 'How to Paint a Portrait from a Photo' article

